Local review required before publication. Operational details last verified on September 28, 2026.
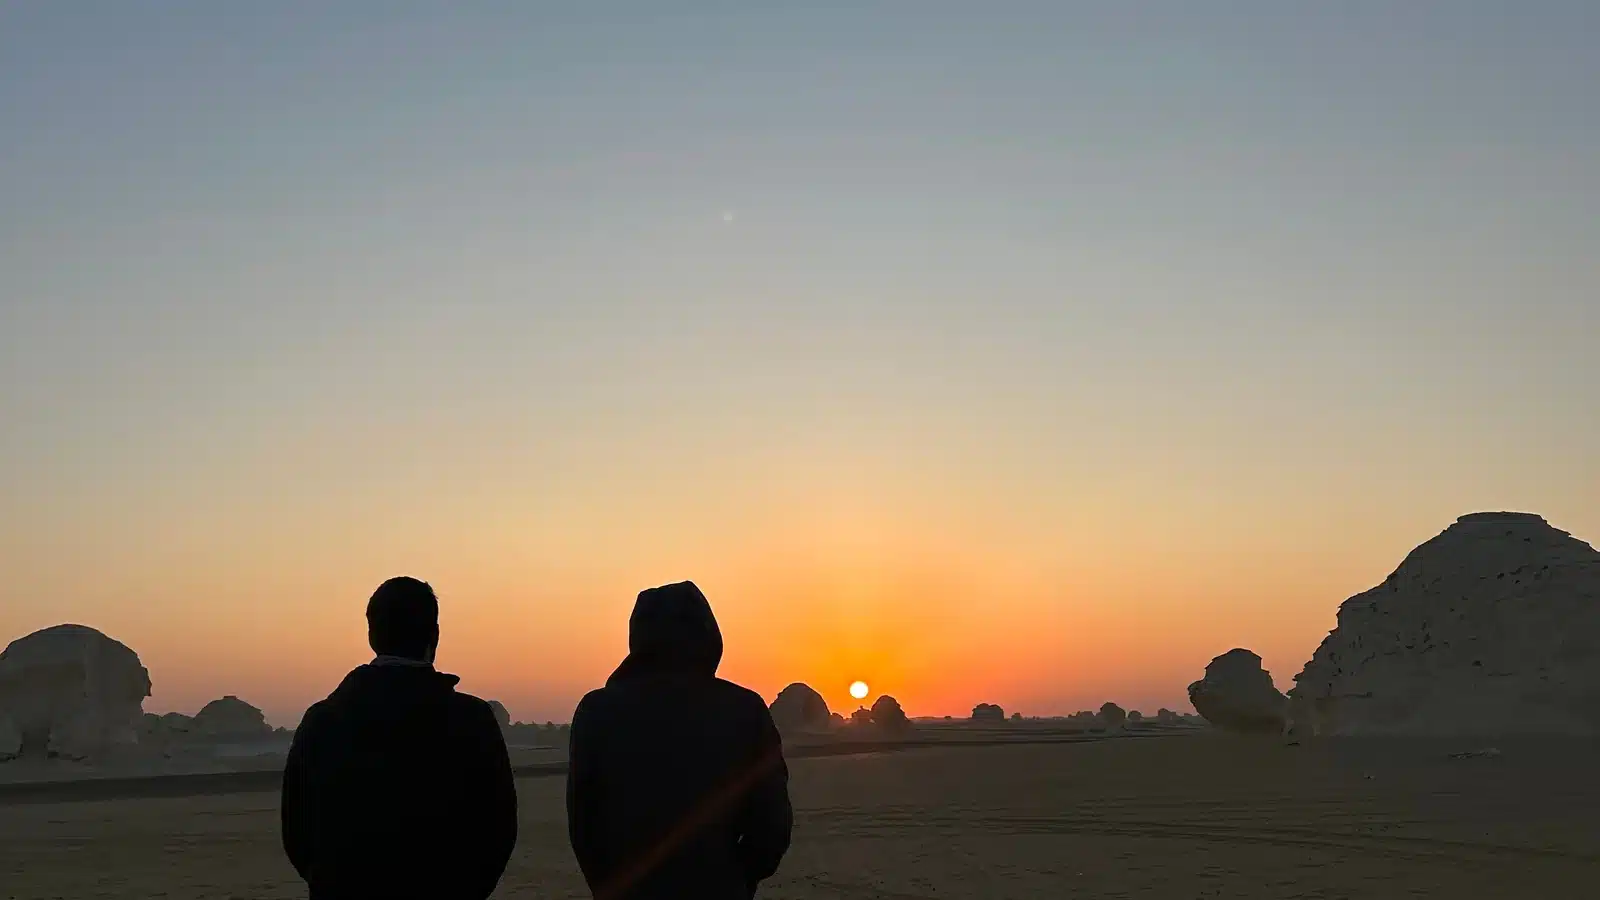
White Desert photography rewards planning more than expensive equipment. The landscape changes character within hours: dark ridges can become graphic silhouettes, pale chalk formations develop long shadows, and an apparently empty valley gains scale when a person or 4×4 enters the frame. Night work adds a second set of variables, moon phase, astronomical darkness, cloud, wind, camp lighting and battery life. No operator can guarantee the Milky Way on a particular night, but a careful route can improve your chances of useful light. This guide explains where to slow down, what to pack, how to protect cameras from dust, and how to work respectfully around a shared camp. It also shows why two nights are often more useful than one for photographers who want sunset, sunrise and a realistic opportunity to adapt when conditions change.
Quick answer
The White Desert is strongest photographically when a route includes late-afternoon light, one or two camp nights, sunrise, the Black Desert and Aqabat, not only a quick midday stop. For night-sky work, moon phase, camp-light discipline, battery planning and a stable tripod matter as much as the camera. A 3-day / 2-night route usually gives photographers more chances to adapt to wind, cloud, moonlight and changing desert conditions.
Table of contents
- Why the Western Desert works for photography
- Best photography stops
- Sunrise versus sunset
- Milky Way planning
- Practical camera kit
- Dust, wind and temperature
- Power and charging
- Camp-light etiquette
- Recommended three-day route
- Phone photography
- Responsible photography
- 20-shot checklist
- FAQ
Why the Western Desert Works So Well for Photography
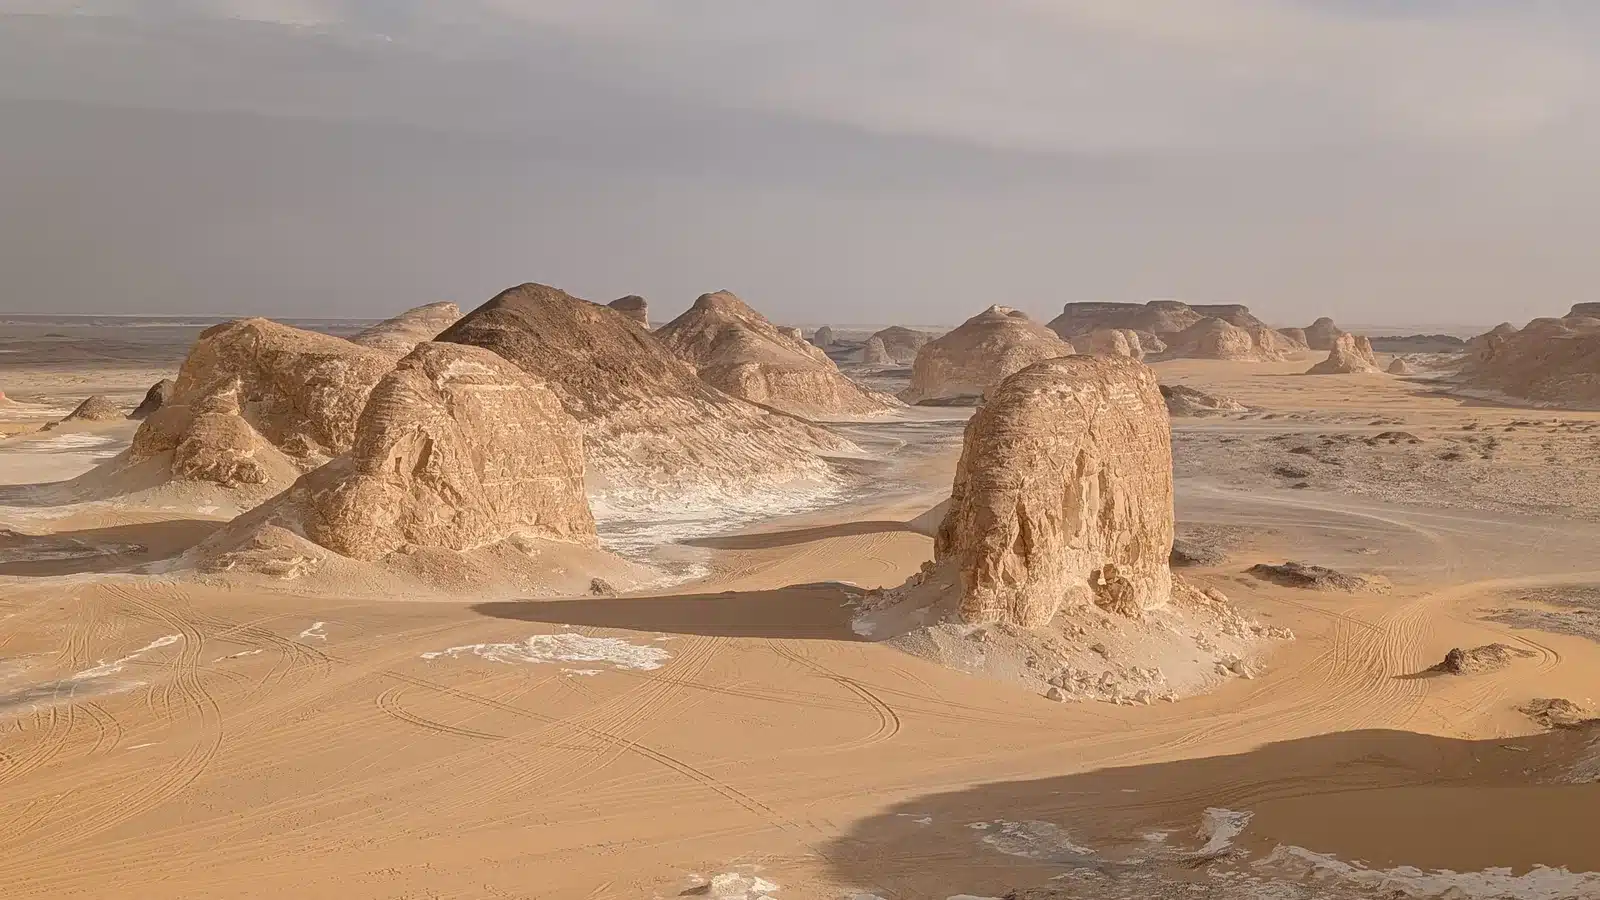
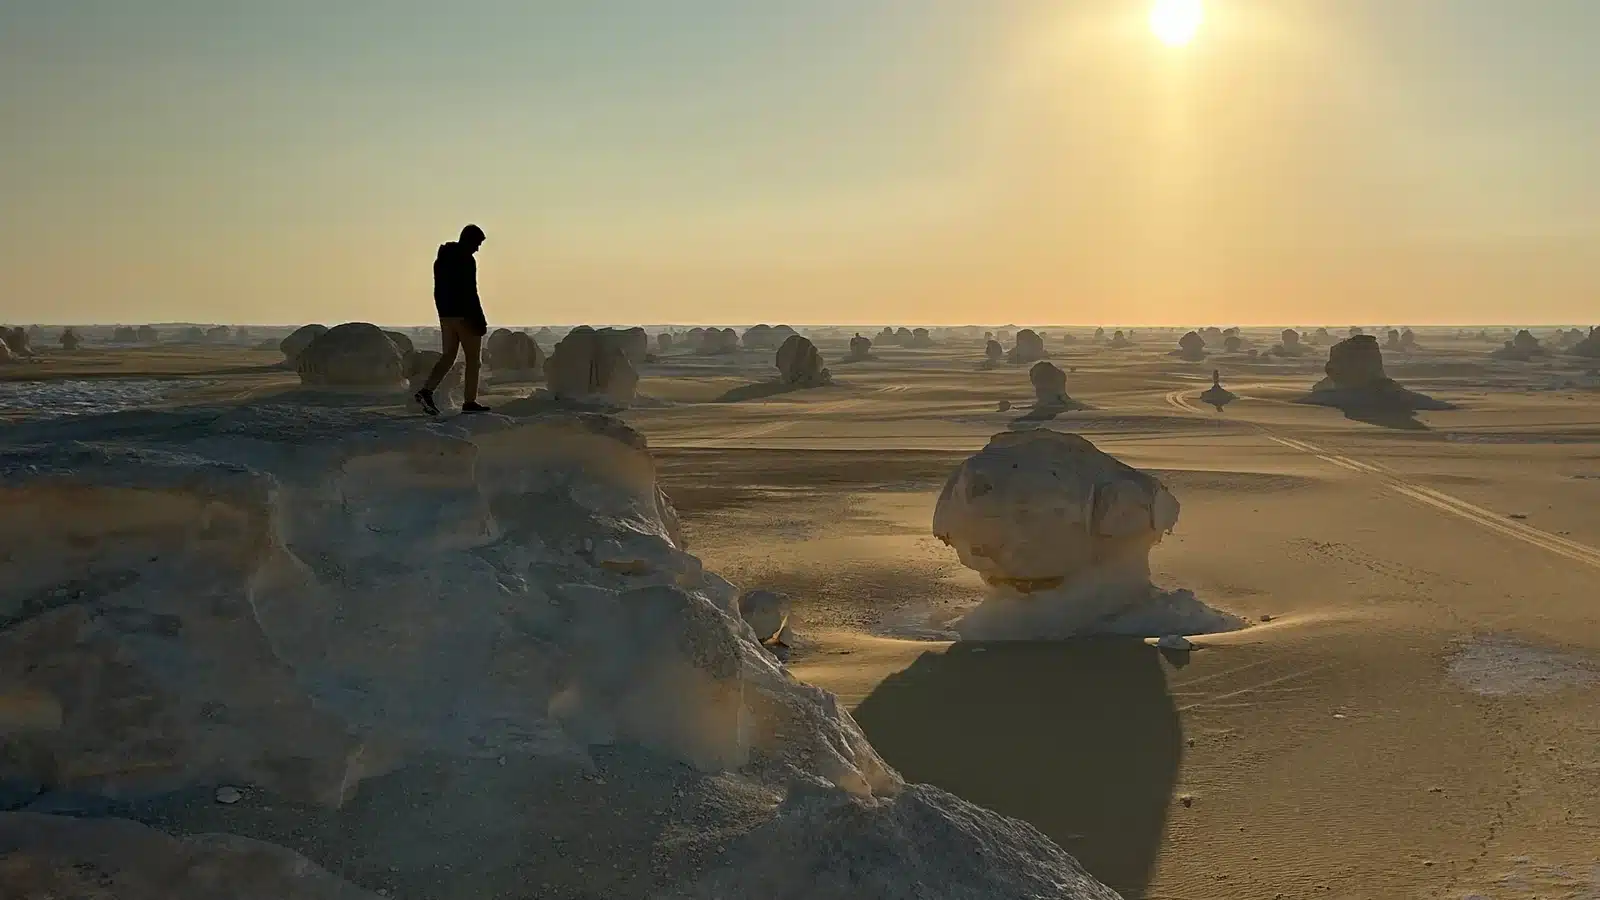
The visual strength of the Bahariya to White Desert route comes from contrast. Near Bahariya, ochre ground and dark-capped hills form bold shapes. Farther along the route, broad sand corridors and layered ridges create depth. In the White Desert, wind-shaped chalk landforms catch light differently on every face. A photograph made at noon may emphasize shape and negative space; the same subject near sunset can become a study of texture and shadow.
Clean horizons are another advantage. They make wide compositions simple and give the sky room to matter, especially during blue hour. “Dark sky,” however, should not be translated into “zero light pollution everywhere.” Camps, vehicles, nearby groups, the moon and distant settlements can all affect a night frame. The practical goal is to choose an appropriate camp position, control nearby light and check the night sky for the exact date.
Scale is essential. Chalk forms that look enormous from one angle may look small in an empty frame. A stationary vehicle, guide or consenting traveler can communicate size. Photograph people only after asking. A wide lens exaggerates foreground distance, while a moderate focal length compresses layers in Aqabat/Agabat and the Black Desert. The White Desert travel guide supplies destination context; here the emphasis is visual planning.
The Best Photography Stops on a White Desert Route
Black Desert
Dark ridges against warm ground work well in directional morning or late-afternoon light. Use a medium focal length to stack slopes, or place a 4×4 below a ridge for scale. A common mistake is pushing contrast so far that every dark surface becomes featureless. Preserve texture and remember that not every hill has an identical origin; photograph what is visible without turning a caption into unsupported geology.
Crystal Mountain
This is generally a shorter stop. Look for the ridge, natural openings and reflected detail rather than expecting a high mountain hike. Side light can reveal sparkle without blowing highlights. A polarizer may change reflections, so rotate it while watching the image rather than leaving it at maximum. Do not move, break or collect material for a close-up.
Aqabat or Agabat Valley
The valley is strongest for layered compositions, leading lines and vehicle scale. A moderate telephoto can simplify distant ridges, while a wide lens needs a clear foreground. Haze and wind may soften the layers. The common error is rushing through at midday; when the itinerary permits, allow time to wait for side light and for dust raised by another vehicle to settle.
Old and New White Desert
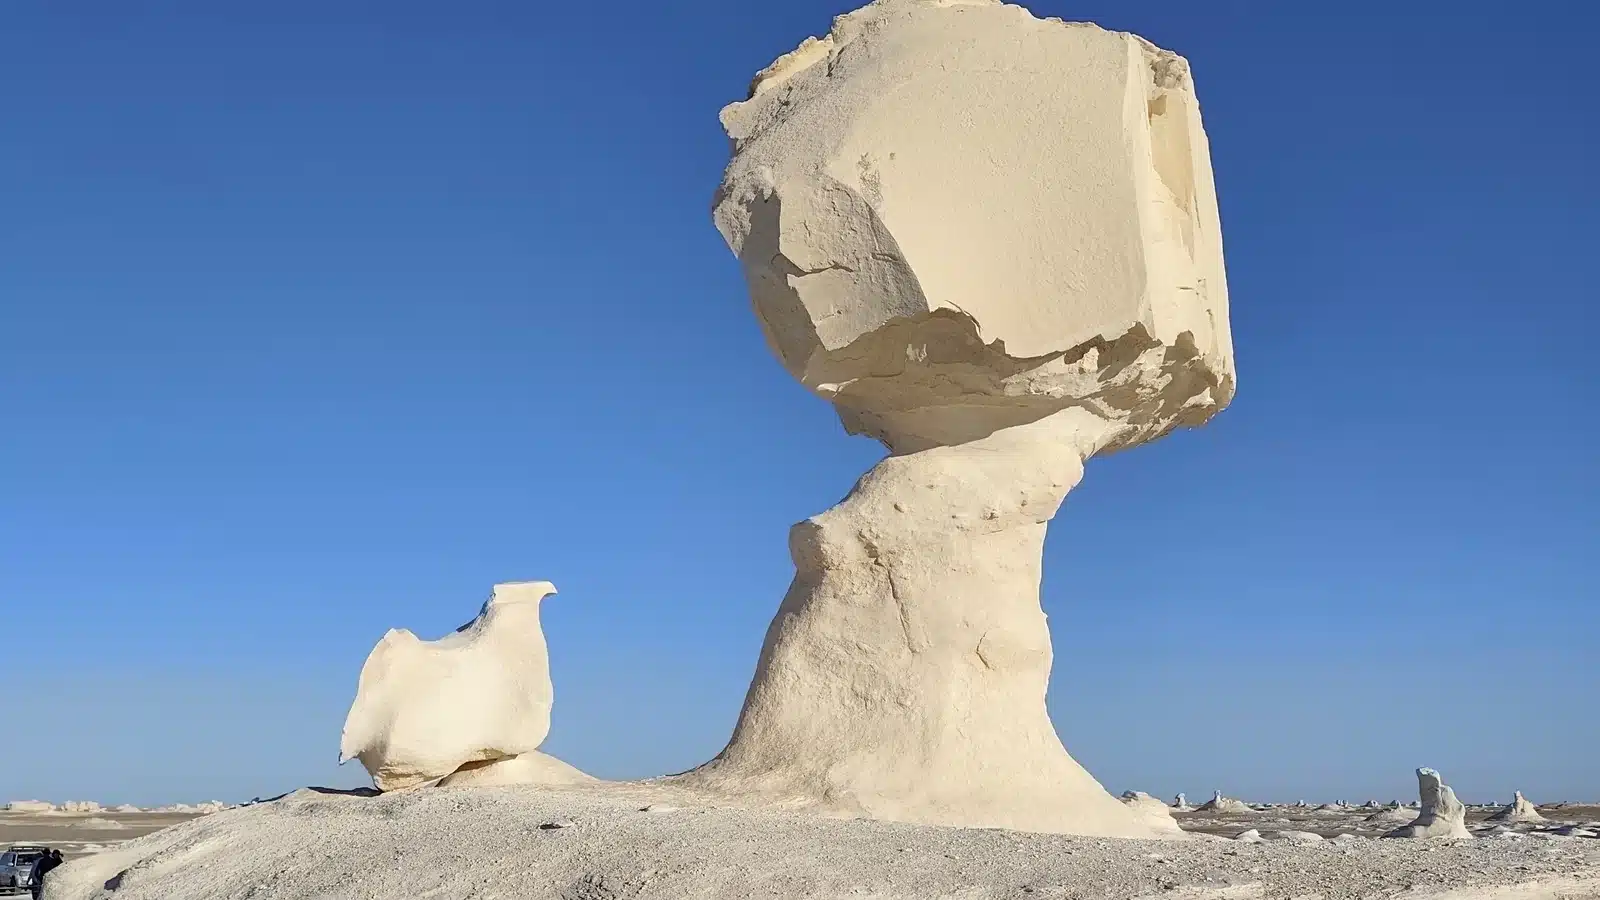
Tourism descriptions often distinguish broad older landscapes from the concentrated mushroom-like chalk forms associated with the newer White Desert. Exact route labels vary locally. Use the guide’s terminology and avoid publishing navigation coordinates. Photograph familiar forms from a respectful distance and look for less obvious pairs, repetitions and shadows instead of climbing for a “new” angle.
Camp, springs and daily life
The narrative is incomplete if every frame is a landmark. With permission, photograph the camp setup, meal preparation, water, tire tracks that will later soften, and hands arranging equipment. At springs, confirm whether photography is welcome, especially when residents are present. A human story should never cost someone privacy.
Sunrise vs Sunset: What Each Gives You
| Factor | Sunrise | Sunset |
|---|---|---|
| Color | Often cooler before sunrise, then gentle warm light | Warm light followed by blue hour |
| Shadows | Build quickly as the sun clears the horizon | Lengthen gradually and become silhouettes |
| Camp considerations | Keep gear quiet and ready before others wake | Camp setup and meal timing may overlap |
| Good subjects | Tents, untouched sand, chalk texture | Ridges, people, vehicle scale, silhouettes |
| Exposure challenge | Rapid brightness change | Bright sky with dark foreground |
The exact light direction changes with the season and campsite. A formation that looks ideal on a map may be shaded or approached from another side under current routing. Ask the driver where stopping is allowed, then walk only within the stated area. For sunrise, assemble the tripod and choose a basic composition the night before. For sunset, make a safe “insurance” frame early, then experiment as the color changes.
Bracketing can help with a bright horizon, but do not assume every high-contrast scene needs heavy HDR. A silhouette is often cleaner. Protect highlights in chalk surfaces, check the histogram, and review sharpness at high magnification before the light disappears. The site’s best-time guide explains seasonal tradeoffs that also affect day length and clothing.
Can You Photograph the Milky Way in the White Desert?
Yes, the region can offer dark conditions suitable for astrophotography, but visibility is never guaranteed. The galactic core is seasonal, its position changes through the night, and a bright moon can overwhelm it even under a clear sky. Cloud, haze, airborne dust and camp light also matter. Check a current astronomy or planetarium app for your coordinates and date, including moonrise, moonset, lunar illumination and astronomical darkness.
A moonless night is not automatically “better.” Moonlight can reveal chalk foregrounds and reduce the need for artificial light. If the goal is a strong Milky Way core, choose dates when the core is above the horizon during a genuinely dark period. If the goal is star trails or a moonlit landscape, another phase may work. State the creative priority when asking the operator about dates.
At camp, frame before darkness if possible. Identify a safe path and do not wander among formations with only the camera screen for orientation. Use manual focus on a bright star, magnify the live view, and take a test at high ISO. Then refine shutter time according to focal length and sensor resolution. The old “500 rule” is only a rough starting point and can produce visible trailing on high-resolution cameras.
A Practical Camera Kit for the Desert
A reliable kit is usually smaller than a photographer’s entire cabinet. One camera body, a wide lens, a mid-range zoom and a stable tripod cover most situations. A second body reduces lens changes and provides backup, but it adds dust exposure, charging demand and weight. Choose equipment you can operate in darkness without learning a new menu system.
- Wide lens: sky, camp context and foreground-led landscapes.
- Mid-range lens: layered ridges, people with consent and compressed detail.
- Tripod: stable enough for wind, with legs that can be cleaned.
- Remote or intervalometer: useful for long exposures and sequences.
- Headlamp with red mode: preserves more night vision and disturbs others less.
- Blower and microfiber cloths: remove loose dust before wiping glass.
- Sealable bags: isolate batteries, cards and equipment during transport.
- Power bank and spare batteries: sized for two nights without assuming mains power.
- Multiple memory cards: reduce the impact of a single card failure.
For a phone-only kit, clean the lens frequently, bring a secure tripod clamp, a power bank and a small cloth. Use the main camera rather than digital zoom. If the phone supports RAW, test the workflow before travel. A small torch is for navigation and safety, not unrestricted light painting around other guests.
Dust, Wind and Temperature: Protecting Your Equipment
Windblown sand is the most obvious concern, but careless handling creates more problems than the desert itself. Change lenses inside a closed vehicle or tent when conditions are dusty. Turn the camera off, point the mount downward, and keep the replacement lens uncapped for the shortest possible time. Use a blower before a cloth; rubbing grit across glass can scratch coatings.
Do not place a camera bag directly on loose sand if a mat or vehicle surface is available. Close zippers immediately. Secure tripod straps and extend the thicker leg sections first. Hanging a bag from the center column can stabilize a tripod only when the bag cannot swing; in gusts, the swinging weight makes movement worse. Lower the tripod and shield it with your body.
Temperature changes can create condensation. Before moving cold gear into a warmer enclosed space, seal it in a bag so moisture forms on the bag rather than the camera. Batteries lose capacity faster in cold conditions, so keep spares insulated. Never leave equipment on a vehicle roof, bumper or sand while the team is packing. Establish one consistent storage place and count items before every departure.
Power and Charging in a Desert Camp
Continuous mains power should never be assumed. Ask whether charging is available in the road vehicle, the 4×4, at the hotel, or through a generator used under controlled conditions. Confirm the socket or USB type and whether several guests will share it. A vague promise to “charge in the car” is not enough for a photographer with multiple camera batteries.
Estimate consumption from a normal day, then add reserve for cold, long exposures and repeated image review. Label batteries and rotate them instead of using one until it is empty. Keep a charged unit untouched for the final sunrise. Charge the phone separately because it is also a communication and navigation backup. Put power banks in hand luggage according to airline rules and protect their ports from dust.
An arrival night at the hotel can be used to top up every device before departure. Even if the tour lists charging, plan to finish the route without it. That redundancy is more reliable than carrying a large collection of power-hungry accessories.
Camp-Light Etiquette for Stargazing
A single white headlamp can spoil another photographer’s exposure and everyone’s night vision. Agree on a simple protocol after dinner: announce before turning on bright light; point lamps downward; use the red mode for short tasks; dim phone screens; and close vehicle doors gently so interior lights do not repeatedly flare. Ask the team before covering or disabling any vehicle light because safety comes first.
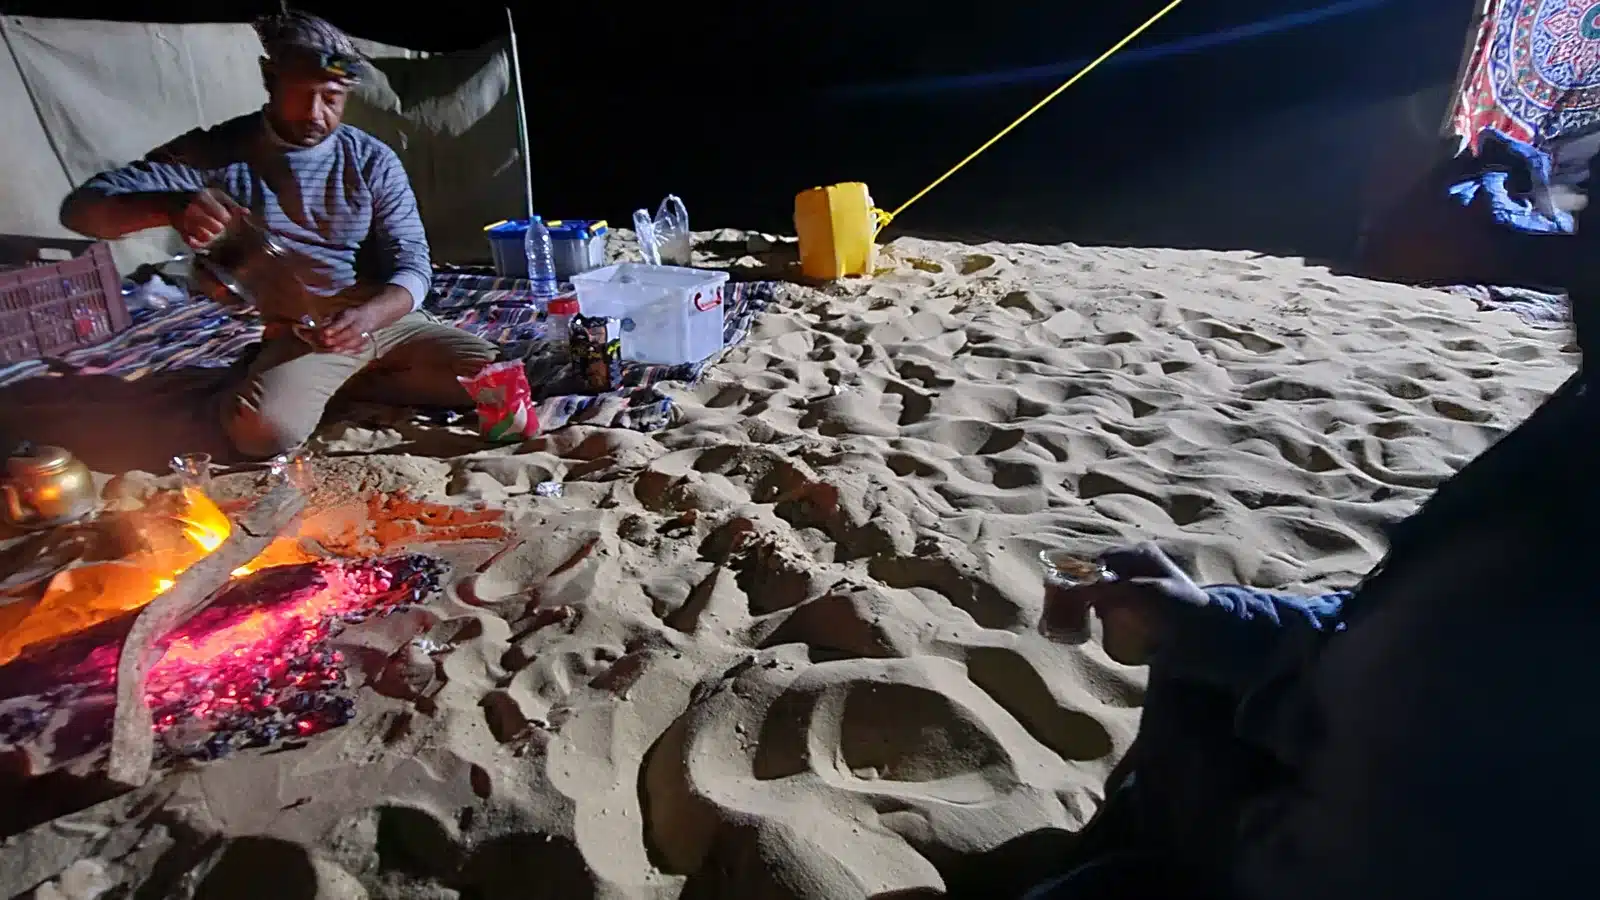
Firelight is part of camp life and can be a photographic subject, but it also brightens nearby foregrounds. Work with it rather than asking the team to extinguish a necessary cooking or warming fire. Make camp photographs first, then move, only with permission, to a darker viewpoint where the fire is hidden by terrain. Do not walk so far that the group loses track of you.
Light painting needs consent. Keep beams off people, tents, wildlife and other camps. Avoid colored smoke, sparklers, steel wool and props that leave litter or create fire risk. The best shared-camp rule is simple: no guest controls the darkness alone.
Recommended 3-Day Photography Route
A useful three-day plan is adaptable rather than a rigid list. Day one can leave Bahariya after the road-transfer handover and build toward late light in the Black Desert or another permitted viewpoint, with time for Crystal Mountain and route stops when accessible. Camp one provides the first night-sky opportunity.
Day two should emphasize Agabat/Aqabat and the wider White Desert rather than repeating quick photographs. Use the morning for texture, the middle of the day for rest, equipment checks and scouting, and the afternoon for layered light. A second camp night creates another chance if the first night is cloudy or moonlit. Day three adds sunrise, concentrated chalk formations and a measured return to Bahariya.
This is a photographic logic, not a guaranteed sequence. Current access, wind, official instructions and camp suitability can change it. Review the live 3 Days / 2 Nights White Desert Tour and ask how the normal route can be slowed without promising a prohibited or unsafe stop. Travelers with only one night can still use the 2 Days / 1 Night route, but should prioritize a few subjects.
Phone Photography: How to Get Better Results
Start with the simplest improvement: clean the lens. Dust and fingerprints turn low sun into haze. Tap and hold to lock focus/exposure when the phone allows it, then reduce exposure slightly to protect bright chalk and sunset color. Use the main lens; digital zoom discards detail. Move closer only where the guide says walking is appropriate.
Panoramas work well in open valleys, but rotate around the phone rather than swinging your arms in a wide arc. Keep the horizon level and make a second frame with the opposite sweep direction. Use silhouettes when the foreground is too dark. Night mode can make a recognizable sky, but handheld multi-second processing often smears stars. A tripod clamp and timer improve consistency.
If RAW capture is available, use it selectively and keep a standard processed version. RAW files require editing and fill storage quickly. Turn off automatic flash at camp. Back up important photographs at the hotel after the route rather than spending the night staring at a screen.
Responsible Photography in a Protected Landscape
A photograph is not a reason to climb fragile chalk, move rocks, remove crystals or direct a vehicle off the local route. Repeated contact can damage forms that took far longer to develop than any visit. Use lens choice, perspective and patience instead of physical alteration. Leave foreground stones where they are.
Ask before photographing guides, residents or other travelers, and ask again before publishing a close portrait. Avoid exact GPS coordinates for sensitive camp or wildlife locations. Observe desert foxes from a distance, never feed them, and do not use food to pull an animal into a composition.
Drones require separate current verification. Egyptian aviation, security, protected-area and filming requirements can differ, and a tour booking is not permission to fly. Do not bring or operate a drone based on an old forum answer. Request official, current confirmation before travel; if it is not available, leave the drone at home.
A 20-Shot White Desert Checklist
- The paved road changing into desert scale.
- A Black Desert ridge with retained texture.
- A safe wide frame using the 4×4 for scale.
- Close surface detail without moving material.
- Crystal Mountain’s recognizable ridge or opening.
- Agabat layers with a long lens.
- Leading lines in open sand.
- A consented guide portrait in working context.
- Late light on chalk formations.
- A clean sunset silhouette.
- Blue-hour color after sunset.
- Camp equipment before darkness.
- Meal preparation with permission.
- Firelight without staging danger.
- A tent beneath the night sky.
- A Milky Way attempt aligned with the current sky.
- Star trails or a moonlit alternative.
- Pre-dawn camp details.
- Sunrise texture and long shadows.
- A final responsible-travel frame showing an undisturbed site.
Frequently Asked Questions
What is the best month for White Desert photography?
No single month wins every category. Cooler months can be more comfortable for carrying equipment and camping, while day length, wind, haze and moon phase matter for a particular image. Check the current seasonal guide, then choose dates around the subject, night sky, sunrise, people or long daylight, you value most.
Can I see the Milky Way in the White Desert?
The White Desert can offer dark conditions, but the core’s season and position, moonlight, cloud, haze and camp lights determine visibility. Use a current astronomy app for the exact date and location. Treat a clear Milky Way as a planned possibility, not an inclusion that an operator can guarantee.
Is one night enough for photography?
One night can produce sunset, camp, stars and sunrise when conditions cooperate. Two nights offer more resilience and a slower route, especially for Agabat and night work. If time allows only one night, tell the team your two or three priority subjects rather than trying to stop at every landmark.
Can I charge camera batteries during the safari?
Possibly, but it must be confirmed. Ask about the road vehicle, 4×4, generator or hotel, socket type and shared capacity. Bring enough charged batteries and power banks to finish without mains power. Cold, long exposure and frequent screen review increase consumption.
What lens is best for the White Desert?
A wide lens handles foreground, camp and sky, while a mid-range or short telephoto isolates chalk shapes and compresses distant ridges. If carrying one lens, a standard zoom is versatile. The best lens is one you can protect from dust and operate confidently in rapidly changing light.
Is a tripod allowed in the protected area?
A normal still-photography tripod is commonly used by visitors, but current site instructions always take priority. Place it on stable ground, do not block a route or damage formations, and follow the guide. Commercial shoots or unusually large equipment may involve different permissions that must be checked separately.
Can I use a drone in the White Desert?
Do not assume so. Drone import, possession and flight can involve Egyptian aviation and security controls as well as protected-area or filming rules. Requirements change and a safari booking is not flight permission. Obtain current official confirmation before bringing a drone; otherwise do not travel with it.
How do I protect my camera from sand?
Change lenses inside shelter, keep caps ready, use a blower before wiping glass, close the bag immediately and avoid placing gear on loose sand. Secure the tripod in wind and seal cold equipment before moving into warmer air. Count equipment before each vehicle departure.